Support Worker Guide
A complete walkthrough of the support worker portal — from logging in to managing shifts, timesheets, compliance, and your profile.
On this page
1. Getting Started
Support worker accounts are created by your provider administrator. You will receive an email invitation with a link to set up your account.
Logging In
- 1Navigate to the portal URL in your web browser.
- 2Click Sign In on the landing page.
- 3Enter your email and password on the login screen.
- 4You will be redirected to your Support Worker Dashboard.
Login Screen
Sign in to the portal with your email and password.

Figure 1.1 — Login Screen
Resetting Your Password
- 1Go to the portal login page.
- 2Click Forgot Password? below the login form.
- 3Enter the email address associated with your account.
- 4Click Send Reset Link.
- 5Check your email inbox and click the reset link.
- 6Enter your new password and confirm it.
- 7Click Reset Password to save.
Password Reset Screen
Enter your email to receive a reset link.
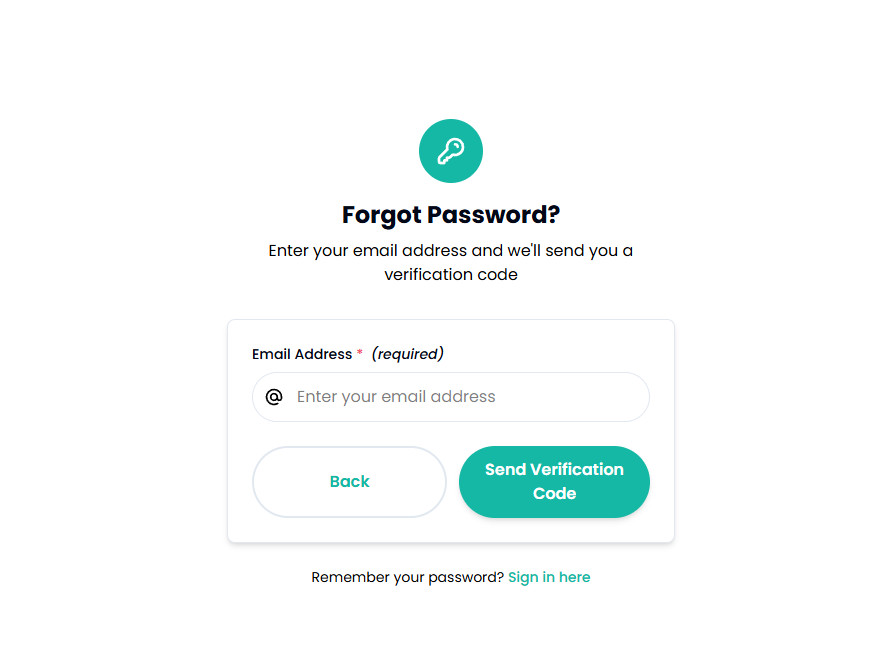
Figure 1.2 — Password Reset Screen
2. Dashboard
After logging in, you land on your personal dashboard showing shift statistics, upcoming shifts, and quick actions.
What you'll see
- Shift Statistics — Total Shifts, Completed, Assigned, Available, and Cancelled
- Upcoming Shifts — Your next 3 upcoming shifts with date, time, location, and special instructions
- Quick Actions — Clock In/Out, View Available Shifts, and Timesheets
Support Worker Dashboard
Your personal dashboard shows shift statistics, upcoming shifts, and quick-access actions at a glance.
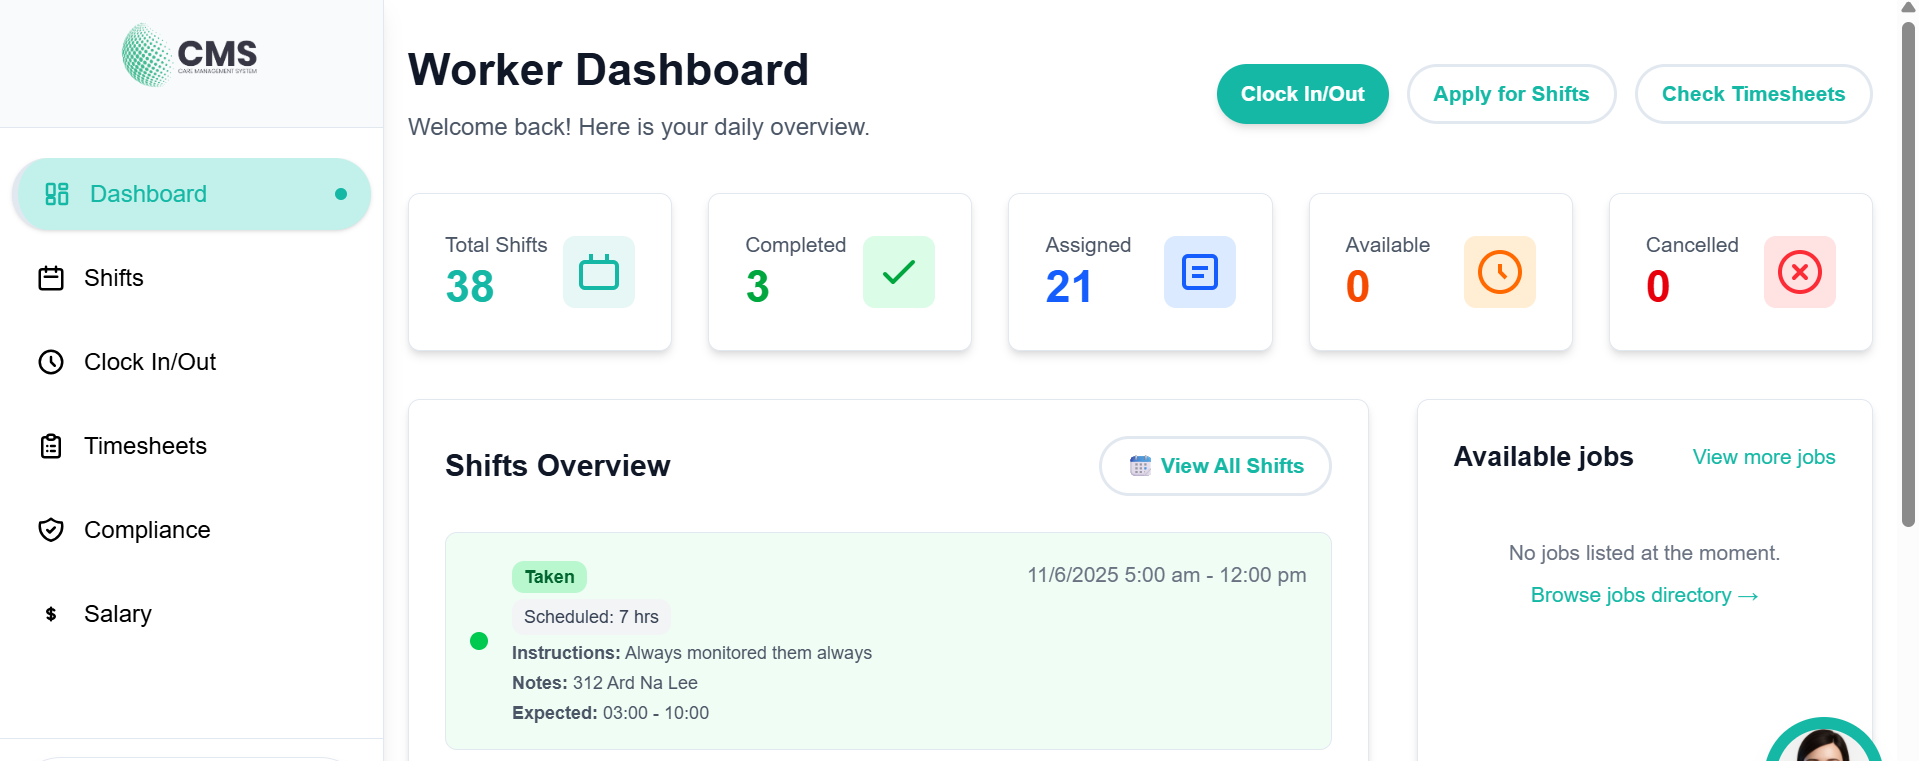
Figure 2 — Support Worker Dashboard
3. Viewing Shifts
View and manage your assigned shifts from the Shifts page. You can see shifts in a list or calendar view.
Navigation
| Menu Item | Description |
|---|---|
| Dashboard | Overview of shift stats and quick actions |
| Shifts | View all assigned shifts (calendar or list) |
| Clock In/Out | Start/end shifts, create progress notes |
| Timesheets | View and submit timesheets |
| Compliance | Upload documents, track expiry dates |
| Salary | View salary and payment info |
Support Worker Shifts List
View all your upcoming, current, and past shifts in one consolidated list.
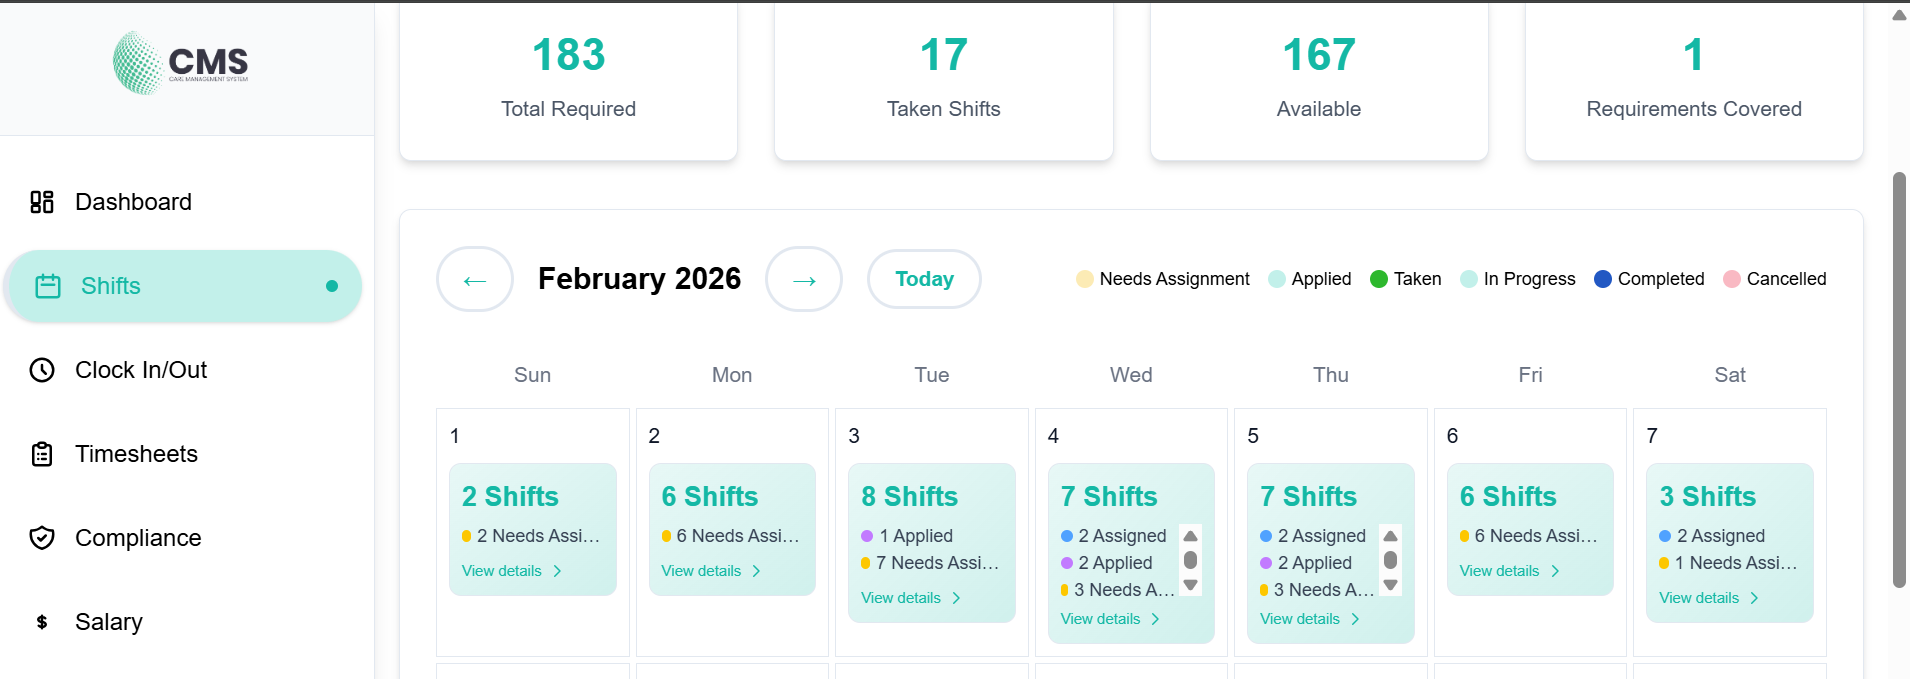
Figure 3a — Support Worker Shifts List
Shift Schedule Calendar
Visual calendar view of your shift schedule — see your week or month at a glance.
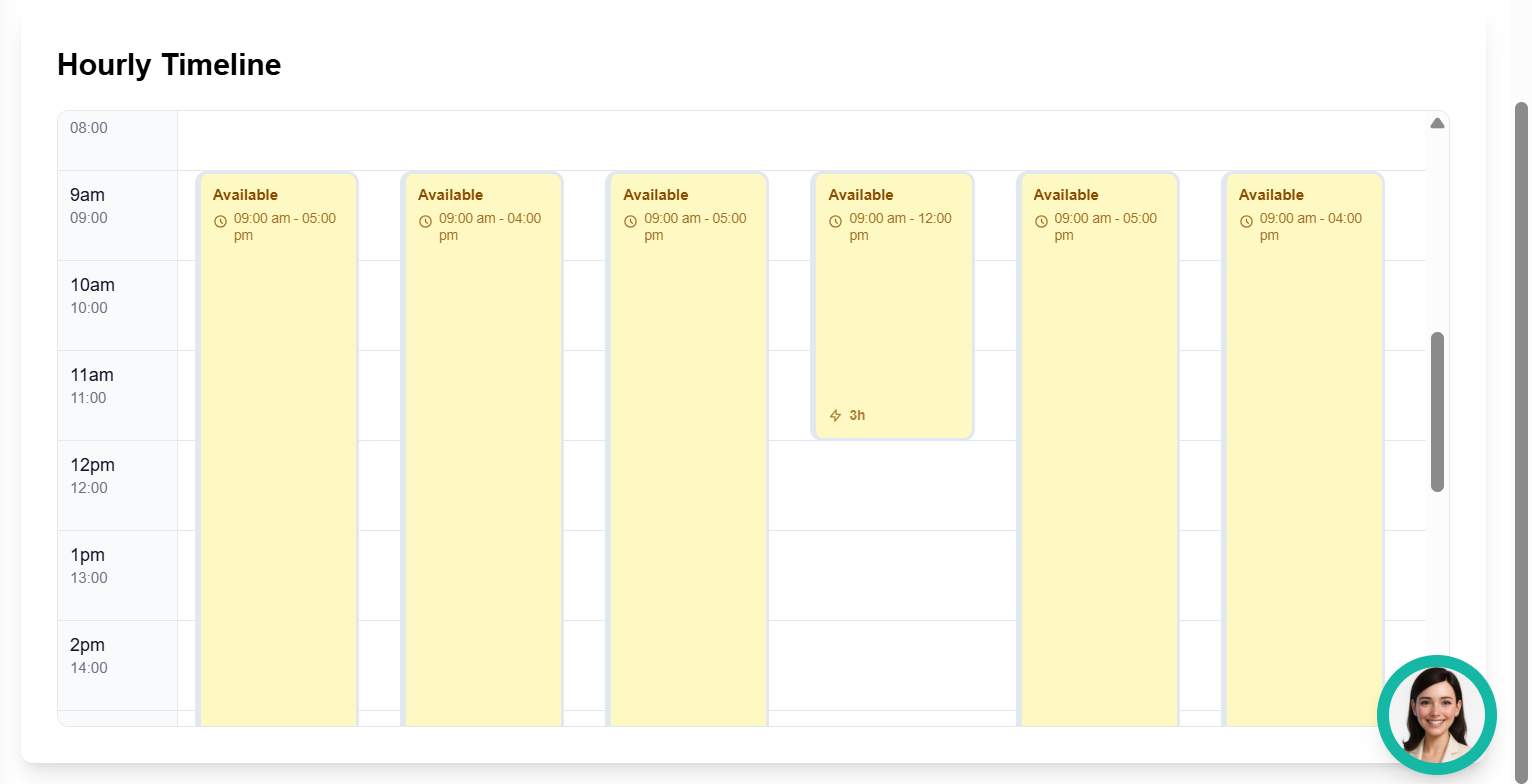
Figure 3b — Shift Schedule Calendar
Shift Details (Worker View)
View full details of an individual shift including participant info, location, and shift notes.
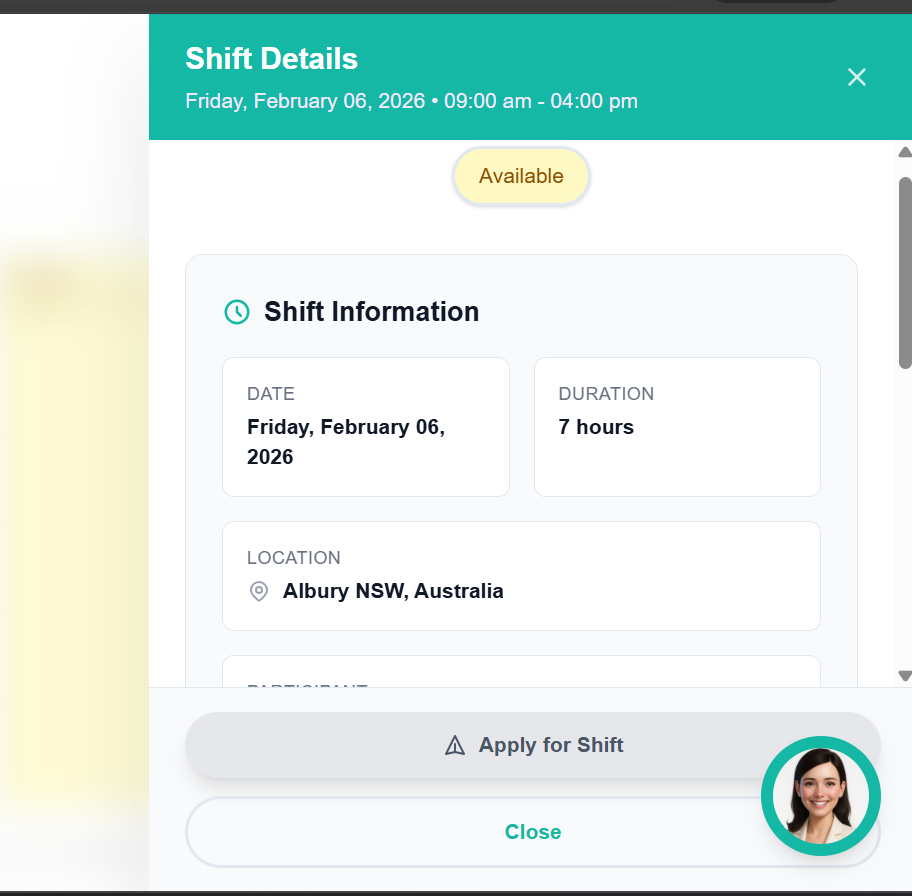
Figure 3c — Shift Details (Worker View)
4. Clock In / Clock Out
Use the Clock In/Out screen to start and end your shifts, record progress notes, and report incidents — all in one place.
Shift Workflow
Support Worker Shift Flow
- 1View upcoming shifts on Dashboard or Shifts page.
- 2Navigate to Clock In/Out.
- 3Select your shift and Clock In at the start (with GPS verification).
- 4Deliver services to the participant.
- 5Clock Out at the end of the shift.
- 6Complete progress notes directly from the Clock In/Out page — including title, content, goal progress, observations, mood, activities, challenges, support provided, and follow-up actions.
- 7Report incidents if any occurred during the shift.
- 8Review timesheet entries in the Timesheets page.
Clock In / Clock Out Screen
Start and end your shift, record progress notes, and report incidents.
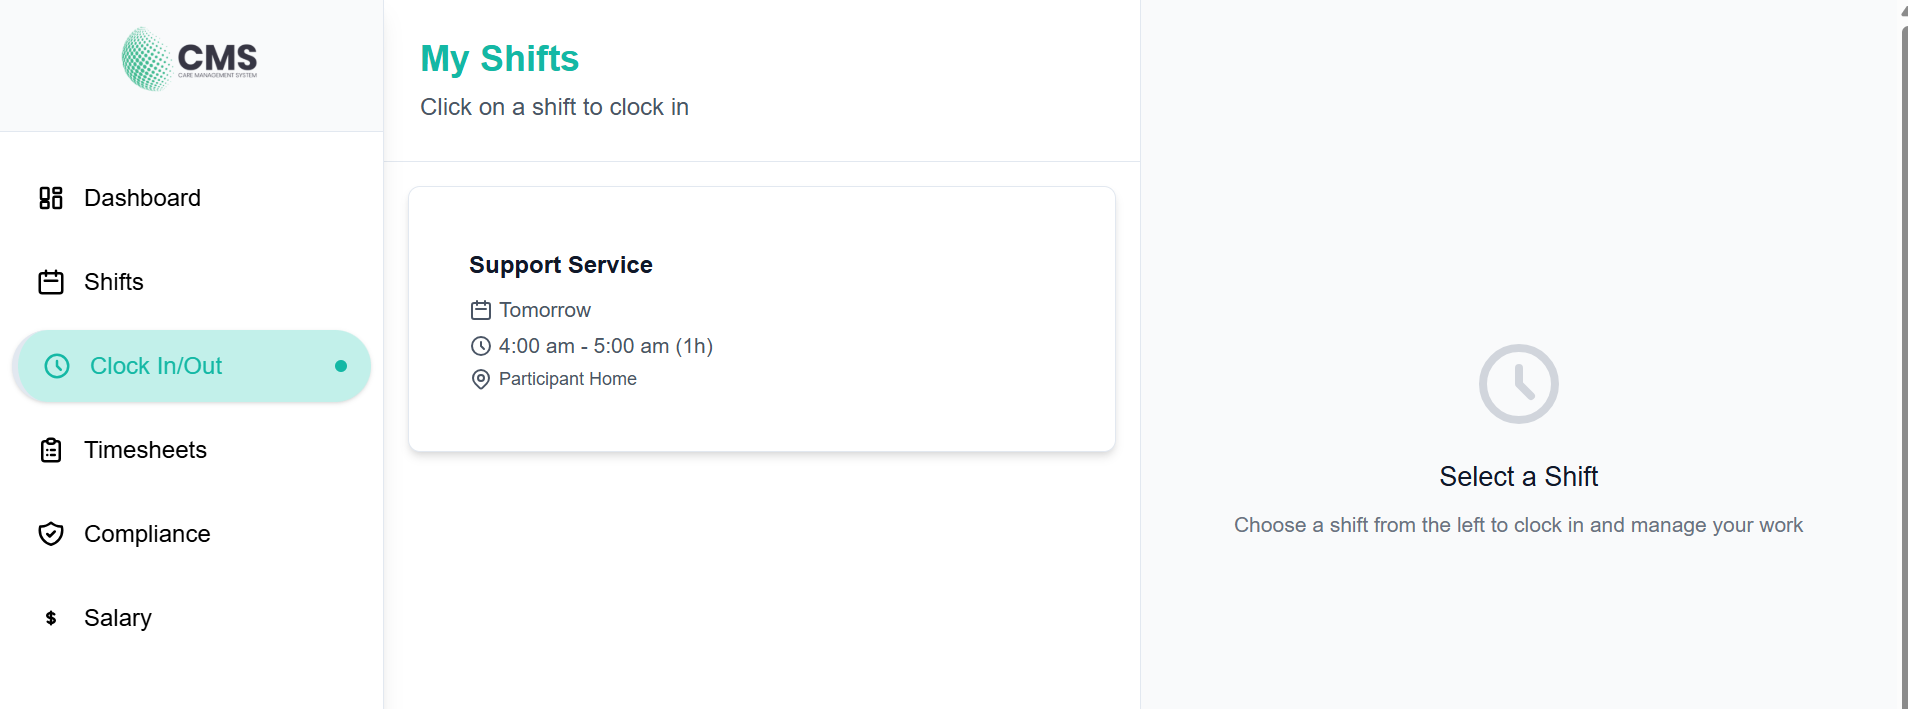
Figure 4 — Clock In / Clock Out Screen
5. Timesheets
The Timesheets page records all worked shifts after clocking out. Review and submit your timesheet entries for payroll processing.
- 1Navigate to Timesheets in the sidebar.
- 2View all timesheet entries for your worked shifts.
- 3Review hours, dates, and shift details for each entry.
- 4Submit timesheets for approval as required by your provider.
Timesheets
A record of all your worked shifts — review your hours and submit for payroll approval.
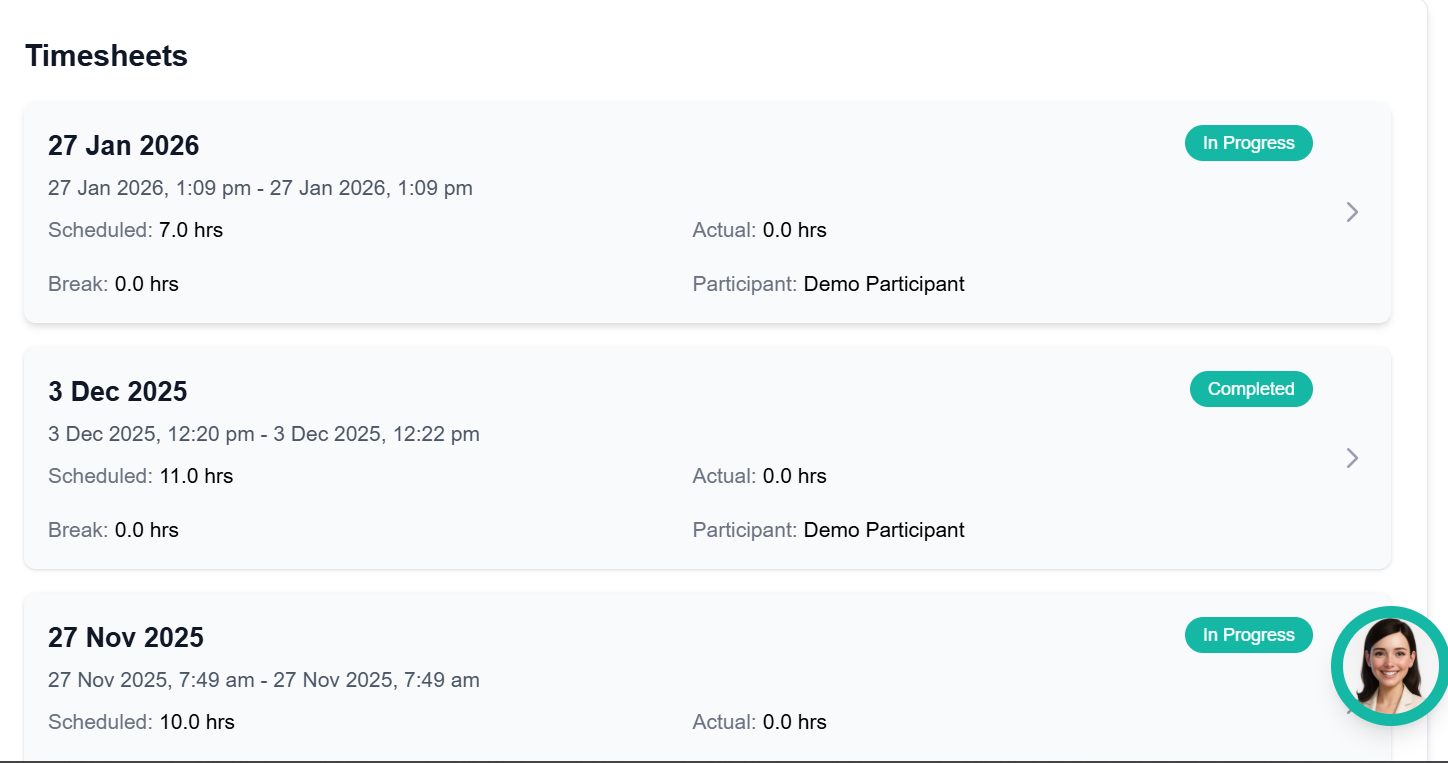
Figure 5 — Timesheets Page
6. Compliance Documents
The Compliance page lists all documents and certifications required for your role. Keep these up to date to maintain your compliance status.
- 1Navigate to Compliance in the sidebar.
- 2Review each required document and its current status.
- 3Upload documents or certifications as needed.
- 4Monitor expiry dates and renew documents before they expire.
Compliance — Required Documents
Track your certifications, clearances, and mandatory documents. Upload files and monitor expiry dates.

Figure 6 — Compliance Page
7. Salary & Pay
The Salary page provides a summary of your pay rates and earnings history. Contact your provider administrator for any payment queries.
- 1Navigate to Salary in the sidebar.
- 2Review your pay rates and payment history.
- 3Contact your provider administrator for any salary queries.
Salary & Pay Information
View your pay rates and earnings history.
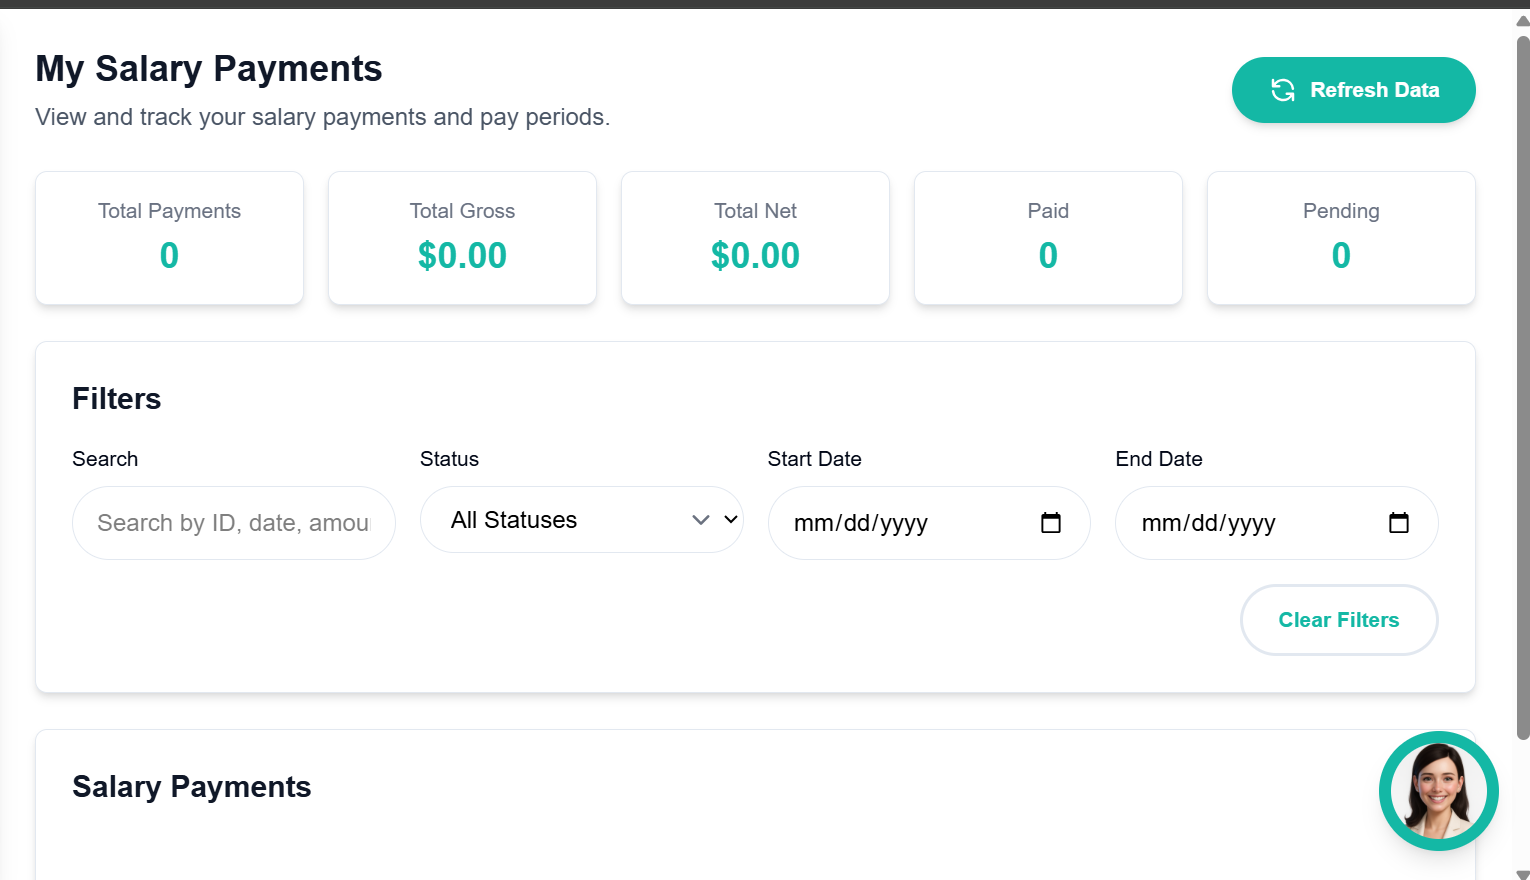
Figure 7 — Salary Page
8. Profile Management
View and manage your personal profile information, contact details, and qualifications.
Support Worker Profile
View and update your personal details, contact information, and qualifications.
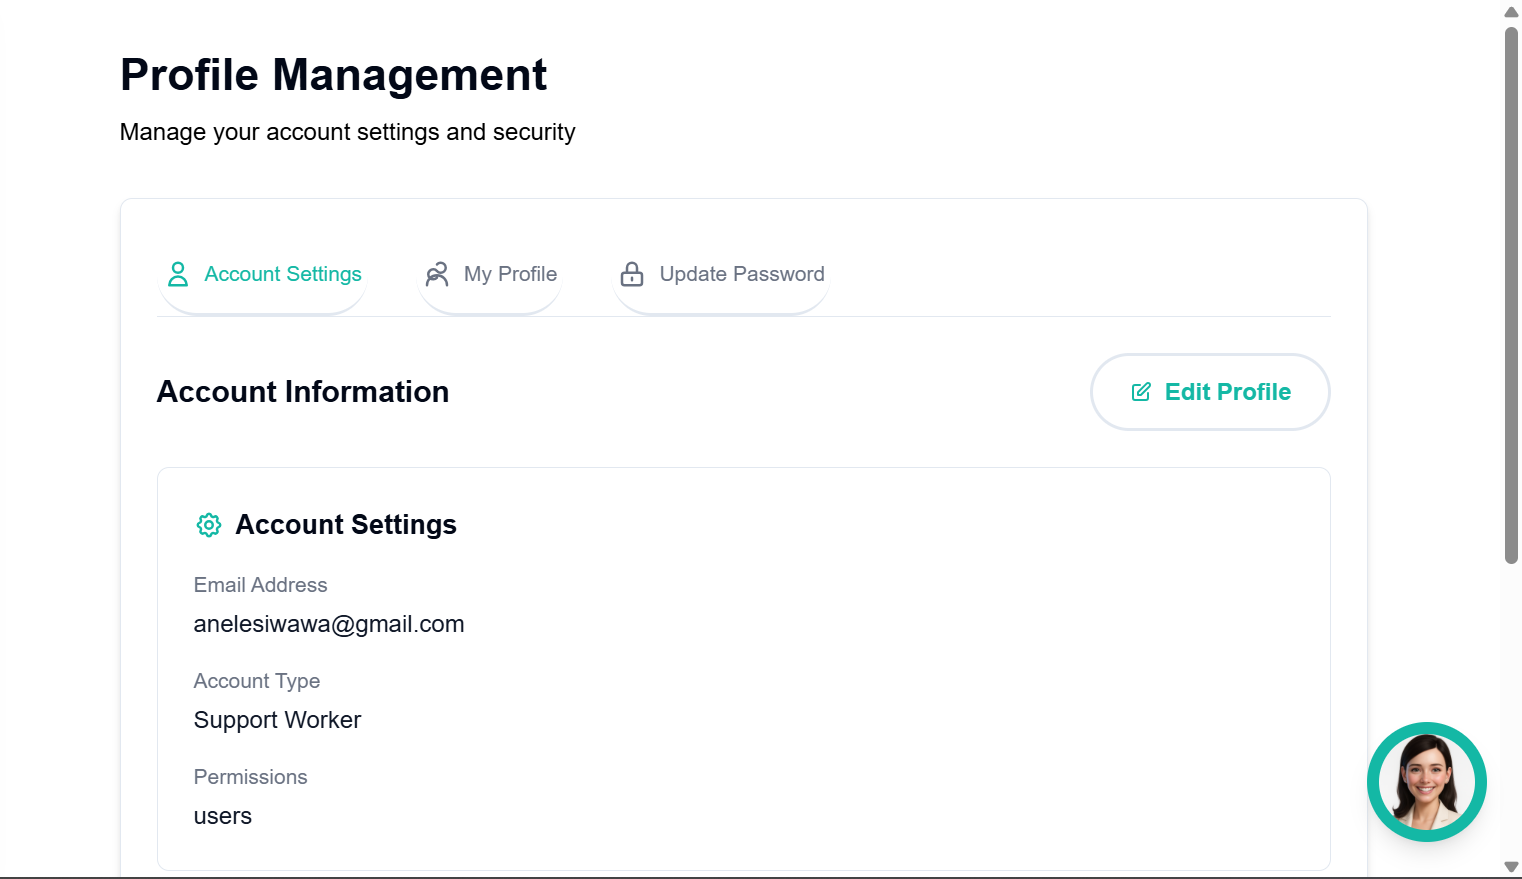
Figure 8 — Support Worker Profile